The kitchen island can pass a showroom review and still fail at dinner: the dishwasher door drops, a guest pushes a stool back, and the second cook has no clean path to the range. Luxury kitchen island dimensions should start with collision points, not with the largest stone slab the room can carry.
The useful question is not “How big can the island be?” The useful question is “Which island size lets cooking, cleanup, seating, storage, and service happen at the same time without forcing a person to step backward into a hot, wet, or blocked zone?”
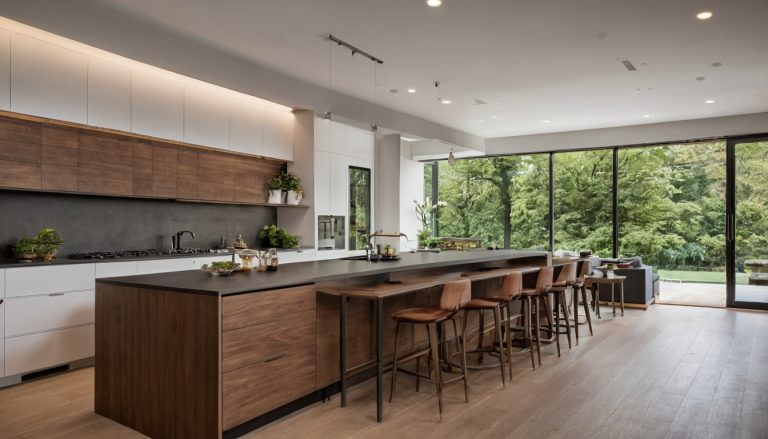
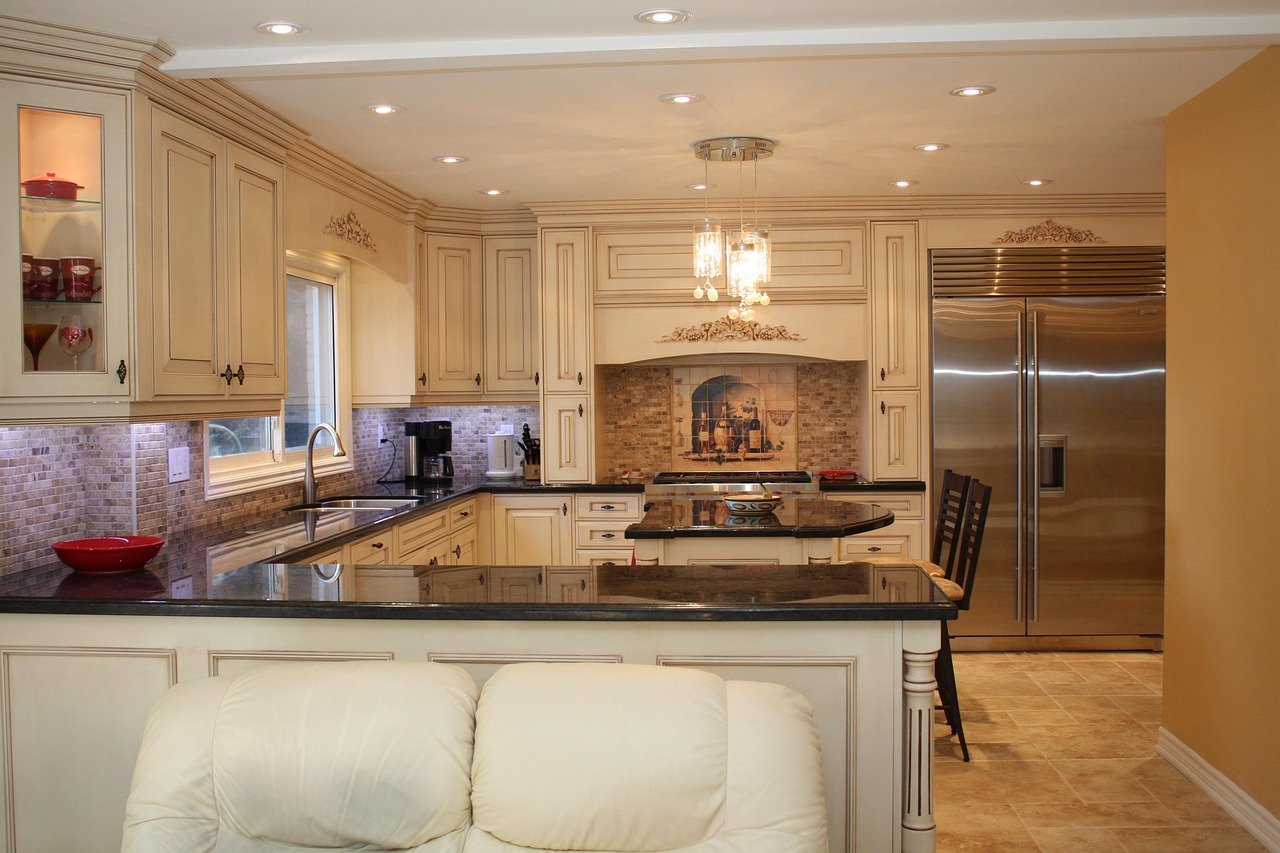
Visual reference for a luxury kitchen island with measured circulation aisles.
What luxury kitchen island dimensions solve the real dual-chef conflict?
Luxury kitchen island dimensions solve dual-chef conflict when island length, island width, aisle clearance, and appliance-door zones let two cooks work without crossing behind hot surfaces or blocking cleanup. In a private villa kitchen, the planning baseline is usually a 42 inch work aisle for one cook and a 48 inch work aisle where two cooks share the same zone.
The NKBA Kitchen Planning Guidelines separate a simple walkway from an active work aisle because a person carrying a tray needs different space than a cook opening a hot oven. A luxury kitchen island that ignores that distinction usually feels generous on paper and cramped during service.
| Island footprint | Best use | Condition that must be checked first |
|---|---|---|
| 72 by 36 inches | Prep island, compact breakfast seating, or secondary kitchen zone | At least one clear work aisle must remain after appliance doors open. |
| 84 to 96 by 42 inches | Main family island with prep, landing space, and 3 to 4 seats | Seat depth and opposite cabinetry must not reduce the aisle below the required working clearance. |
| 108 to 120 by 48 inches | Dual-chef island with separate prep and cleanup tasks | Two cooks need separate paths between sink, cooktop, refrigeration, and trash pullout. |
| 132 inches or longer | Large entertaining island or service island in a villa kitchen | Stone availability, seams, structural support, and walking distances must justify the extra length. |
The first cost of a wrong island size is not visual disappointment. The first cost of a wrong island size is rework: moved plumbing, remade cabinet boxes, altered stone templates, delayed appliance installation, and a room that asks two people to negotiate every movement.
How much room should island seating receive before cabinetry is ordered?
Luxury kitchen island seating works when each diner receives enough frontage, knee space, and rear clearance before cabinet depths are fixed. NKBA guidance uses 24 inches of linear counter frontage per seated diner, with knee-space depth changing by counter height and traffic clearance increasing when people walk behind stools.
A four-seat island does not need only 96 inches of front edge. A four-seat island also needs stool depth, leg room, overhang support, and a rear path that stays usable after a guest pushes a stool back. The same logic explains why villa foyer clearance planning starts with moving bodies rather than furniture silhouettes.
| Seating condition | Planning number | Why the number matters |
|---|---|---|
| Counter frontage per diner | 24 inches | Each person receives enough elbow room for dining without crowding the adjacent place setting. |
| Knee depth at table height | 18 inches at 30 inch height | Lower seating needs deeper knee space because the seated posture extends farther under the counter. |
| Knee depth at counter height | 15 inches at 36 inch height | Standard island seating needs less knee depth than table-height seating but still needs overhang support. |
| Knee depth at bar height | 12 inches at 42 inch height | Higher stools shorten the knee-depth requirement but increase the need for stable foot support. |
| Traffic behind seated diners | 44 inches for a passing path | A service path behind stools needs more space than a static walkway because bodies and chairs move at the same time. |
The seating decision should come before the waterfall end panel, not after. A waterfall panel can remove usable knee width at the island end, and a thick stone return can make the final seating count smaller than the drawing suggests.
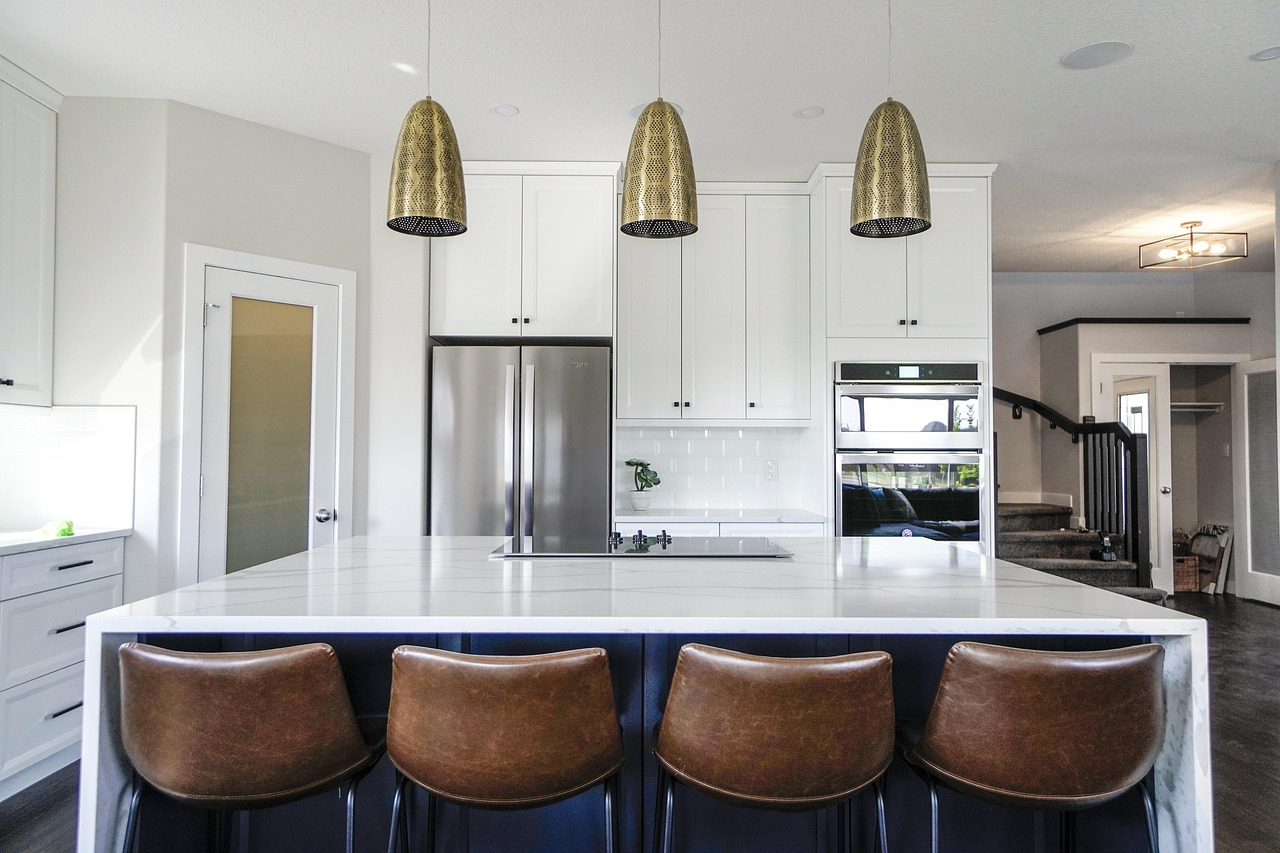
Visual reference for island seating with clear stool spacing and guest circulation.
Where do hidden appliances create the most expensive clearance mistakes?
Hidden appliances create expensive clearance mistakes when the island drawing counts only closed cabinet faces and ignores open dishwasher doors, refrigerator drawers, trash pullouts, warming drawers, and undercounter wine storage. A dual-chef kitchen needs a conflict map that shows every door, drawer, and standing zone in the open position.
Dishwasher placement is the easiest mistake to miss because a fully integrated panel makes the appliance disappear in elevations. NKBA guidance places the nearest edge of the primary dishwasher within 36 inches of the nearest edge of a cleanup or prep sink, and dishwasher use also needs standing space for loading, unloading, and turning with dishes.
- Luxury kitchen island planning should keep the dishwasher door out of the main cook’s route between sink and cooktop.
- Luxury kitchen island planning should keep trash and recycling pullouts near prep, not behind the person washing dishes.
- Luxury kitchen island planning should place refrigerator drawers where seated guests cannot block the cook’s access.
- Luxury kitchen island planning should leave landing space beside hot appliances so trays and pans are not carried across a seated zone.
Electrical planning now needs the same early attention. The NEC 2023 island and peninsula receptacle guidance summarized by Leviton Captain Code describes a major change: kitchen islands and peninsulas no longer receive a blanket receptacle requirement, but an island without installed receptacles needs provisions for future installation.
The practical design question is sharper than a code checkbox. A pop-up outlet, end-panel outlet, or future conduit route can change cabinet partitions, stone cutouts, drawer locations, and waterproofing details. A hidden appliance zone that receives electrical planning after fabrication usually creates the most awkward compromise.
When does a sink or cooktop make a luxury island worse?
A sink or cooktop makes a luxury island worse when the appliance turns the island into a crossing point for wet dishes, hot pans, and seated guests. A dual-chef island should receive a sink or cooktop only when landing space, ventilation, cleanup routes, and guest seating can remain separate during active cooking.
A prep sink can improve a large villa kitchen when the prep cook receives water near refrigeration, knives, compost, and a clear work surface. A cleanup sink can damage the same room when dirty dishes, dishwasher loading, and guest seating all compete for one island edge.
A cooktop island can support social cooking when ventilation, pan landing space, and safety clearances are resolved before stone templating. A cooktop island can also turn a beautiful counter into a hot barrier between the host and guests. The deciding test is simple: a person carrying a hot pan should never need to cross behind a seated guest or around an open dishwasher.
Visual reference for a stone island with concealed storage and appliance zones.
The best island plan often separates the show surface from the hard-working surface. A back kitchen, scullery, or service pantry can carry cleanup and storage while the main island handles plating, conversation, and controlled prep. The same zoning logic applies to connected entertainment areas, including private rooftop terrace planning where service routes and guest routes should not collide.
Which slab, accessibility, and code limits should stop the island from growing?
Luxury kitchen island dimensions should stop growing when slab size, slab weight, accessibility clearances, receptacle planning, and installation logistics no longer support the larger footprint. A longer island can look more valuable, but an unsupported overhang, unnecessary seam, blocked wheelchair approach, or late electrical change can make the larger island the weaker decision.
The Cambria slab size product information lists jumbo quartz slabs at 132 by 65.5 inches and standard slabs at 122 by 55.5 inches, with approximate weights of 10 pounds per square foot for 2 cm material and 15 pounds per square foot for 3 cm material. Those numbers do not design every stone island, but those numbers show why slab logistics belong in the first planning meeting.
Accessibility references also protect comfort in private homes. The 2010 ADA Standards for Accessible Design specify a 30 by 48 inch clear floor space for wheelchair positioning and accessible dining or work surfaces at 28 to 34 inches above the finish floor. A private villa may not be legally required to follow ADA rules in every kitchen, but ADA dimensions give designers a useful reality check for guests, aging family members, and long-term resale flexibility.
| Constraint | Decision affected | Failure created by late review |
|---|---|---|
| Slab length and width | Island length, waterfall panels, seam placement | Visible seam or remade countertop template |
| Slab weight | Cabinet support, floor loading, handling route | Unsupported overhang or installation delay |
| Clear floor space | Accessible approach, stool layout, aisle depth | Beautiful island that excludes some users |
| Future receptacle provisions | Cabinet partitions, conduit path, stone cutout decisions | Electrical retrofit through finished cabinetry |
What final check turns the island from a showpiece into a working room?
The final check for a luxury kitchen island is a live movement script, not another static plan view. The design team should walk through breakfast, private-chef prep, family dinner, catered service, and late-night cleanup while every appliance door, stool, and pullout is shown at full extension.
- Mark the primary cook’s route from refrigeration to sink, prep surface, cooktop, and landing area.
- Mark the second cook’s route and remove any forced crossing behind hot appliances.
- Open the dishwasher, trash pullout, refrigerator drawer, warming drawer, and wine storage at the same time.
- Slide every stool back to the real seated position and measure the remaining rear path.
- Confirm slab size, seam logic, overhang support, receptacle provisions, and accessible approach before cabinet fabrication.
The right island feels calm because the conflicts were solved before the room became expensive. A luxury kitchen island succeeds when the stone, cabinetry, appliances, and seating stop competing for space and start giving each person a clear next move.